Photograph
Photographing your handlettering work to bring into an online world is just as important as the handlettering itself. Without a good photograph, you can’t convey your physical piece in the way it deserves. Knowledge of how to take a photo of your piece is key. This includes the camera you are using, the lighting, the angles, importing from your camera into an image editing software such as Lightroom or Photoshop etc. and how to change the tone, contrast, add filters and create desired look for your handlettering and photo.
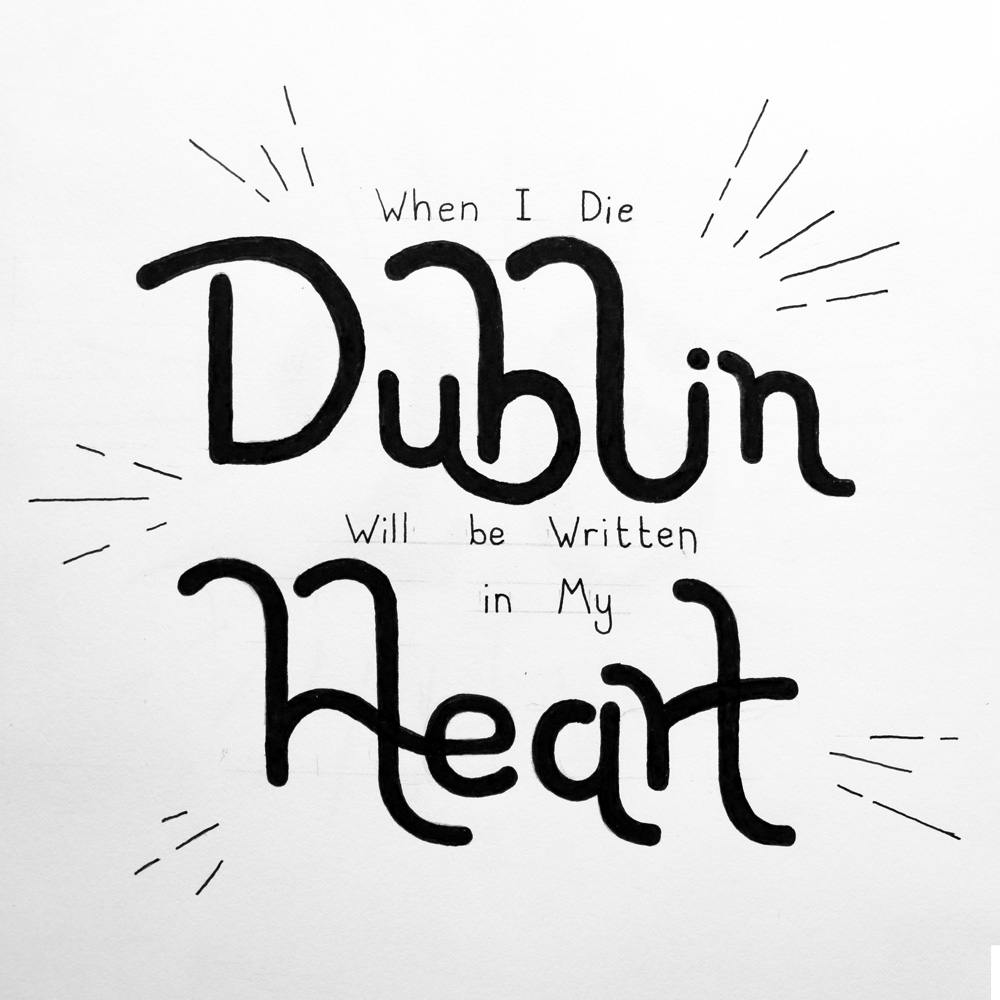
Never underestimate the power of a finely executed photo of your handlettering.
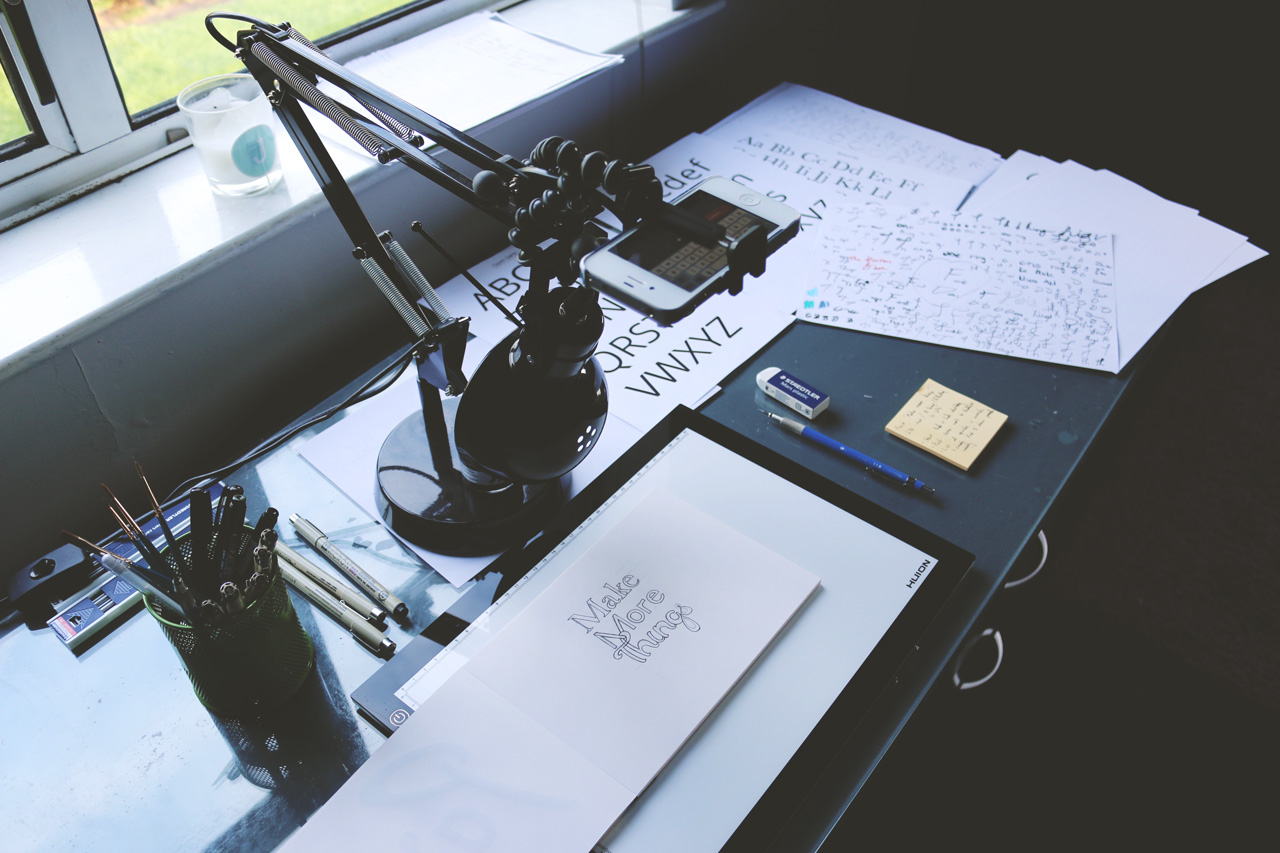
The above image is my setup for live broadcasting my handlettering.
Camera, Tripod & Photography
We’ll start with the camera & tripod to set up your photos. I use a Canon 70D for taking photos of my handlettering, but it doesn’t have to be an expensive DSLR camera. If you have a phone with a decent camera, which most smartphones have, you can take high quality photos of your physical work. I usually take 2 kinds of photo; An angled shot and an overhead shot. The angled shot is for a more natural look, and makes the piece seem more casual. With the overhead shot, I use a 90˚ tripod. It allows for accurate shots directly overhead.
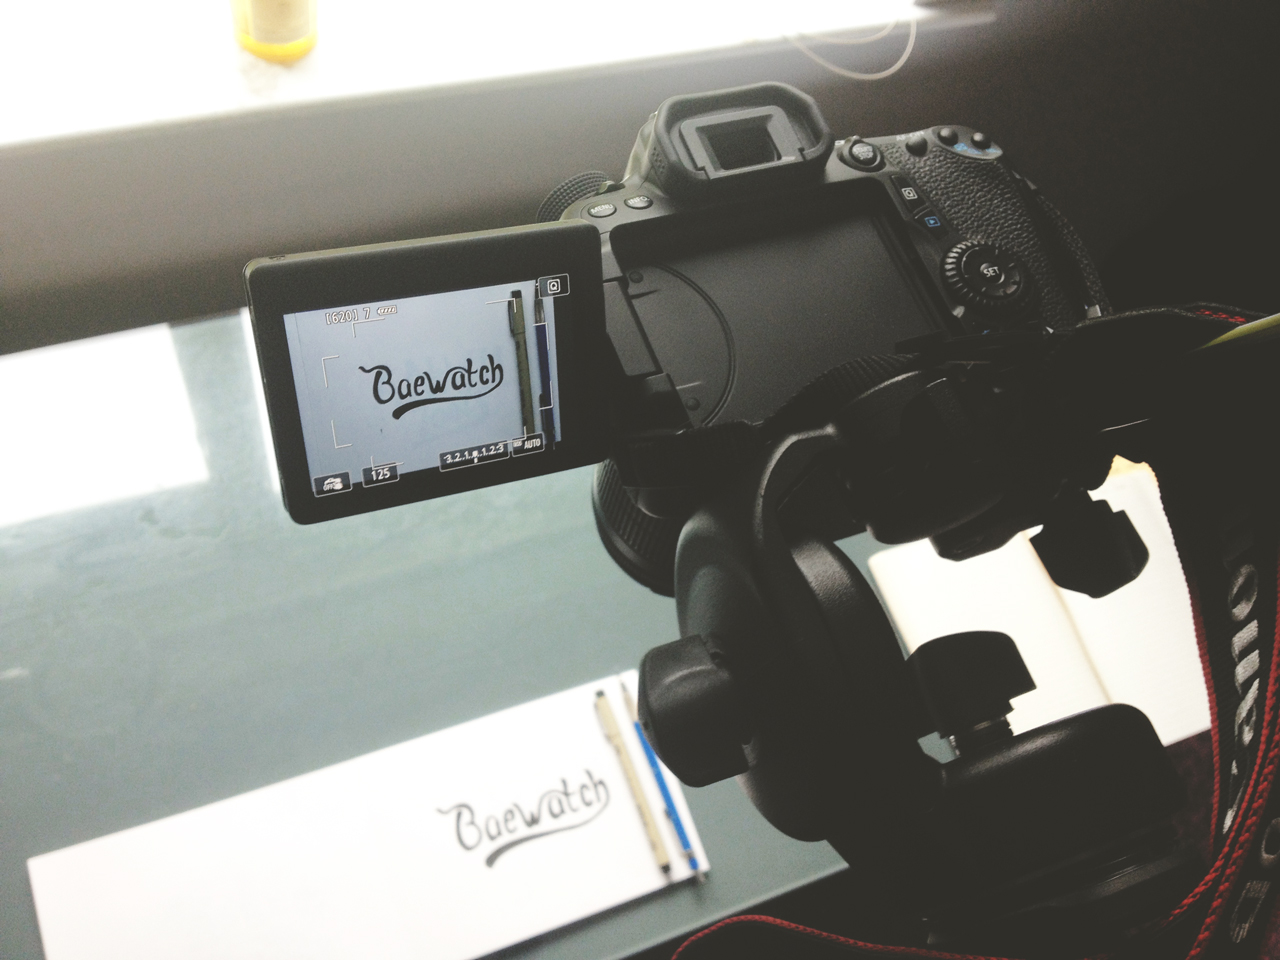
Shooting an overhead is great for getting the full picture of your piece, how straight your artwork is, the lines you used and its aesthetic. Remember, overhead shots are unforgiving, and reveal and all of the worst with your handlettering. Everything will be on show, unhidden, not like the angled (45˚) shot. This is why it pays to practice your lettering and not just try to get better by completing final artworks and full pieces. Practice specially at what you are bad at and you will have nothing to hide from overhead photos.
Make sure you have appropriate lighting in your photo. Take it beside a window or a light source. If you have a white light or LED lamp, all the better. This can be edited out in Photoshop later (depending on your Photoshop skill and how good/bad the light was when you took the photo. The better the light source when taking the picture, the less work you have to do in post production.
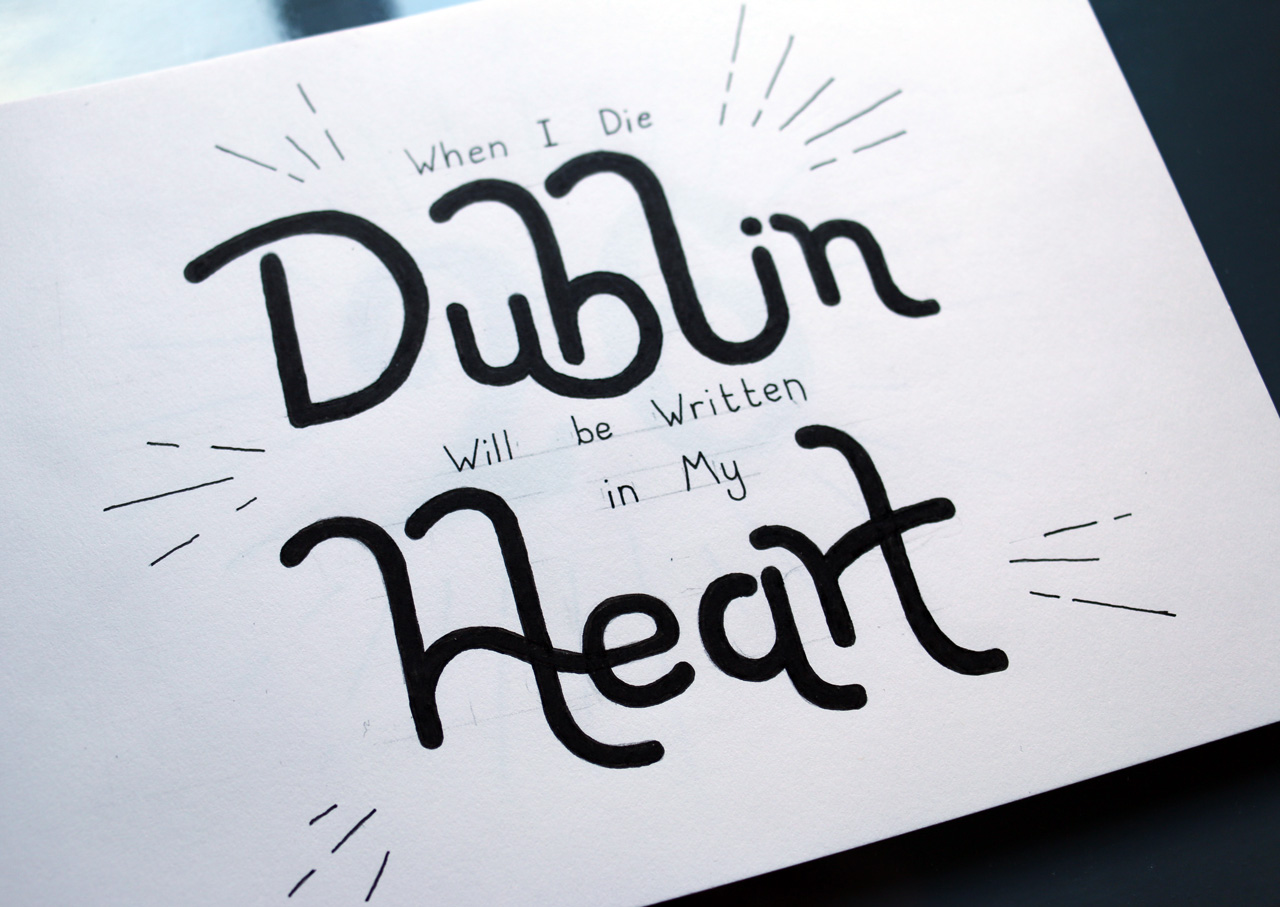
Below are examples of a shot taken without a tripod at an angle, and below that, is a photo of an overhead of the same handlettering piece.
Post Production, Editing & Filters
Bring your photos into Photoshop or another image editing program to touch up your work. If at this point you are thinking, “Why would I want to Photoshop them, isn’t that cheating?”. Well, no, we aren’t going to be altering the handlettering, we are only editing the photo itself to make it appear sharper, have better colour and brightness etc.
This can be done by going to Image > Adjustments. And changing the brightness & contrast. Depending on the lighting when you took your photo, it will correct the lighting in the photo. Another tip before starting to edit colours, saturation, brightness etc. is to use the auto settings in the Image tab. These help correct the levels and colour of your photo.
If you use Lightroom presets or any image filter software like VSCO, you can now add filters and lighting effects to your photo knowing that the colour and brightness have been corrected. I use a white, high contrast filter on my images that gives them a vintage effect.
Exporting
When you are finished editing and adding filters to your image, you are ready to export. It’s an image, presumably with a lot of different colour scales, not just full colours. ‘Save For Web’ as a JPEG, choose maximum quality. Bear in mind where the image is going to be posted, and the dimension for those places. Is it landscape for a blog post, or portrait for Instagram etc. Knowing the dimensions of different platforms and saving those dimensions as a template if you use Photoshop can help save you a lot of time when making images for various platforms in the future.